Knowing your exhibition goals (and constraints)
As with any business decision, your exhibition stand ambitions should start with an identified need. There are plenty of reasons why you should go for it, from exposing your business to potential clients, through to getting feedback and launching new products. It’s important to set some tangible, measurable goals at this stage, too. It helps you to measure the return on your investment, which will eventually let you refine your design, throw yourself into exhibition more, or perhaps even scale it back a bit.
As soon as you’ve decided to get on the exhibition train, you’ll quickly realise that there are inevitable constraints. For a start, there’s a budget. Money is never unlimited, and even if you identify a healthy ROI in future directly from exhibiting, the cash will still need to come out of your budgets for the time period in question.
Next, you’ll face limitations in the shape and size of the stand, in line with the floor area you plan to take at exhibitions. This is partly budget-determined too, but most exhibitors start out small while they find their feet, and grow in size as they grow in confidence.
Finally, there’s that other inevitable constraint – time. The exhibition calendar isn’t going to shift for you, so you need to make sure your design decisions don’t eat too greedily into the months and weeks before the event. Certain sourcing, design and technology options can come with long waiting lists.
The research phase
There’s a wealth of factors that will influence your design visualisation, and they will be part of your research phase. Keep all of them in mind when you’re starting to come up with ideas, because some of them will prevent you from wasting time and money pursuing blind alleys. The key things to research are:
- Venue specifications: You should know which venues you’ll be exhibiting at, based on your sector and sales goals. The venue will probably have a range of stand types, all at different prices, and they’ll also provide technical specifications like floor area, footprint shape and power and WiFi capacity. These are all must-knows before you put pencil to paper.
- Visitor flow and behaviour: It’s a good idea to go as attendees before you go as exhibitors. That way, you’ll be able to see what is expected and how people move about and interact with the stands. It’ll give you a chance to look at competitors, too, and gauge how successful they are.
- Regulatory and safety requirements: Don’t overlook these essentials as they can scupper the best-laid plans. We can help you with this.
Don’t think of these as limitations – think of them as opportunities to focus your time on what is possible. It can actually be quite liberating to have some constraints, and remember – everyone at the event will be working under the exact same conditions.
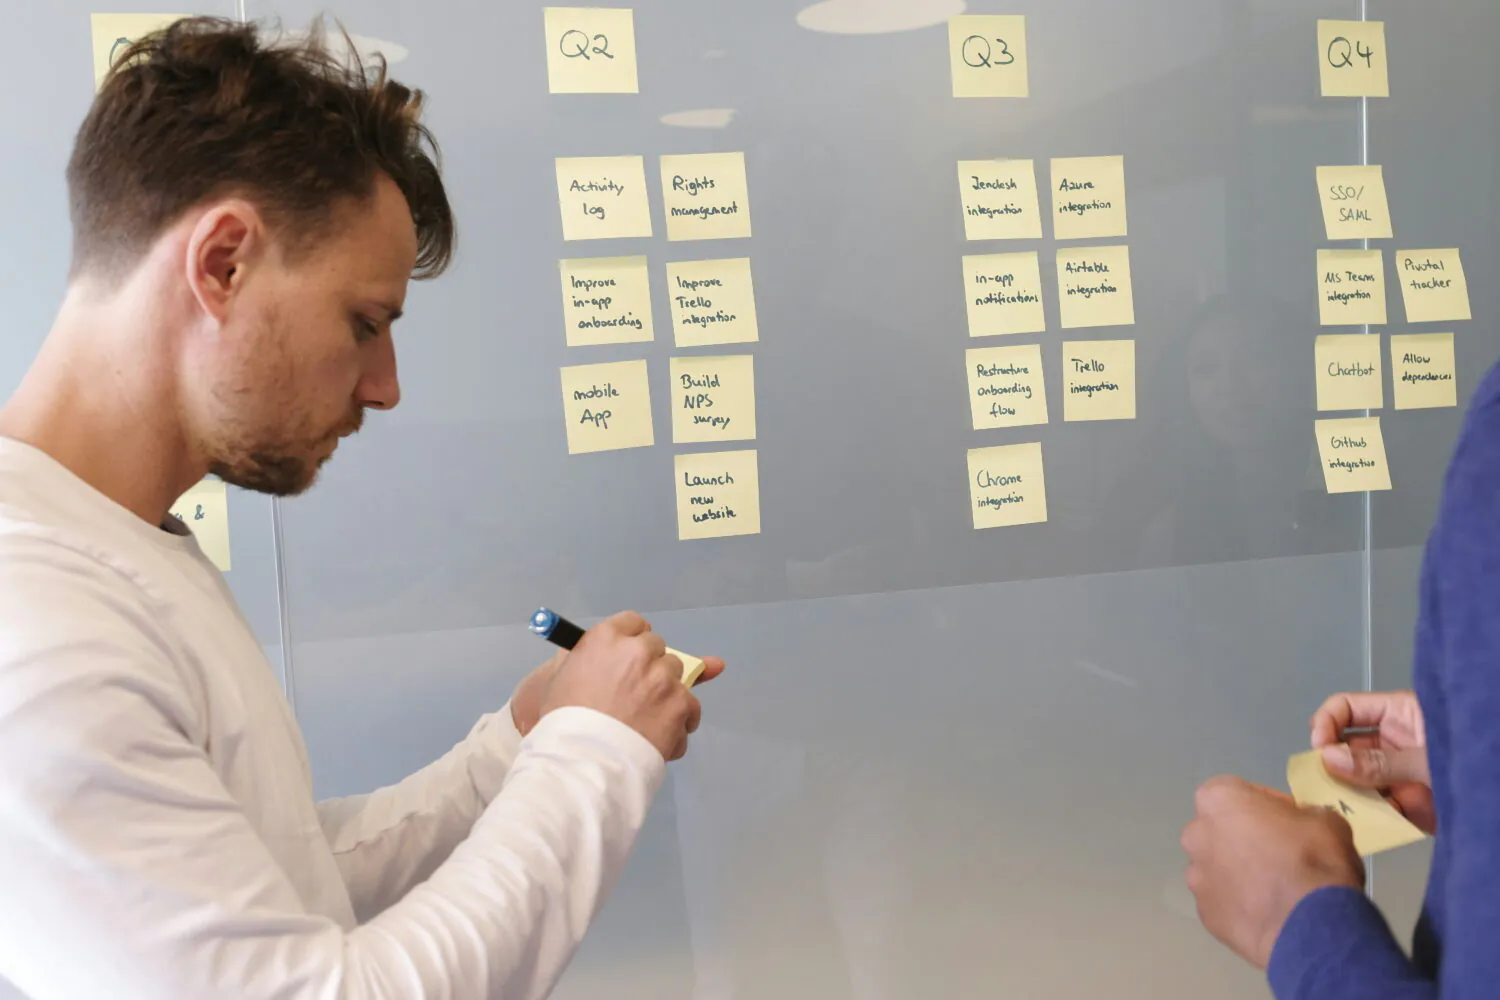
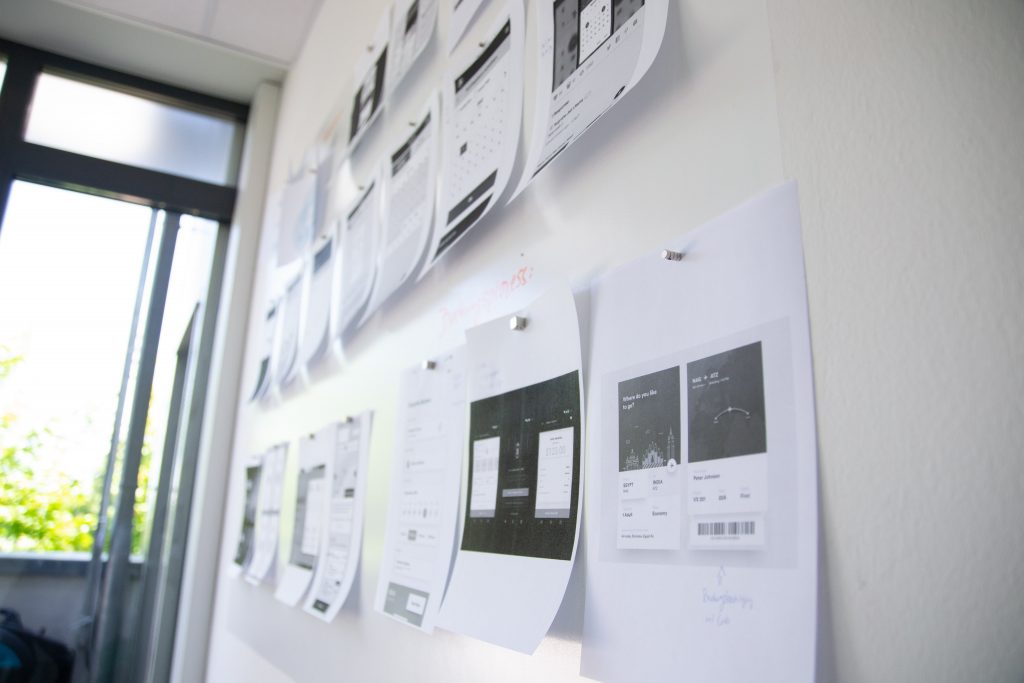
Initial concept development and brainstorming
Now you know all about the playing field you’re dealing with, you can start getting ideas down, which will influence the design of the stand. Now is the time to start creating mood boards and style guides to come up with an overall style language for your presence. It will no doubt be influenced by your wider branding and marketing efforts, so try to involve the appropriate people who work on them every day. It’s a good way of establishing key design themes and messaging that will run through your entire stand, as well as giveaways, furniture and staff clothing. This will help to land on a consistent message across all touchpoints.
Identify must-have elements and nice-to-haves. Certain ideas might be too good to completely ignore but might just fall outside your budget or the constraints of the event. Put them on ice for now, as they may come in useful for future events, or if your costing comes in under expectations.
Digital visualisation tools
There’s nothing wrong with designing on paper, but in the 21st century it’s much easier to design digitally. Not only does it allow easy transfer between stakeholders, but it also lets you easily edit, refine and remove elements. If you already have a design department, they’ll no doubt be itching to get involved, but if not, it’s worth bringing in external resources to help you do a professional job.
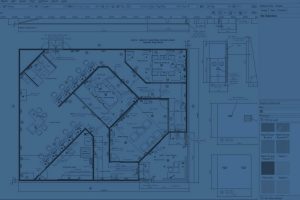
There are a number of free and low-cost options when it comes to getting ideas into digital form. SketchUp is excellent for basic 3D modelling, and it’s available for a few pounds per month. If you’re looking for 2D layouts and graphics, Canva costs nothing for basic use, but isn’t expensive to upgrade for more features. You can even use things like PowerPoint for simple mockups.
Professional software will bring in better results as long as you know how to use it, and it’s more likely to be used by the stand manufacturers, so compatibility and ease of editing won’t be an issue. AutoCAD is generally considered the industry standard, so using it will ensure maximum compatibility across all stakeholders. It’s a fully professional, paid suite, but it isn’t eye-wateringly expensive for most businesses. It’ll let you really get under the skin of your ideas, exploring various layouts, colours and lighting to get the most out of your design.
Physical prototyping and testing
Now you’ve got your ideas down digitally, you can move to the next step – prototyping and mockups. That can take many forms, and it will let you push your ideas beyond what digital representation is capable of, and into the intuitive, human world.
You can start by making a scale model of the design. If you include movable items like furniture, storage and displays, you can often get a better idea of the layout than can be achieved on the screen.
You can test the ground layout with the actual sizes by measuring out a space and placing actual objects on the floor to represent items on the stand (or better still, use the items themselves, if you have them). Get a few people to stand in place and to walk through and around the stand, and you’ll quickly identify choke points and obstructions that weren’t immediately obvious from the designs or models. Remember to take a wheelchair through the stand, too.
Materials are super-important, and no on-screen store can truly convey the look and feel of real-world objects. Get samples of as many materials as you can, so you can see how they look close up, and how faithfully they reproduce the colours and textures you want. When it comes to branding, this is critical, as everything needs to match the colours in the style bible. You can sometimes even test the materials’ performance, such as load-bearing capacity, and how easily damaged it is.
Logistical considerations
Don’t forget to include logistics in your plans. It might be nice to have a large, flat banner or substantial furniture in your stand, but where will it be stored when not in use? And how will it be transported to and from the venue, as well as being set up and dismantled? Re-designing something to be collapsible after it has been designed is usually suboptimal, but if you design objects with collapsibility, storage and transportation in mind, the end result will be more natural, intuitive and structurally sound.
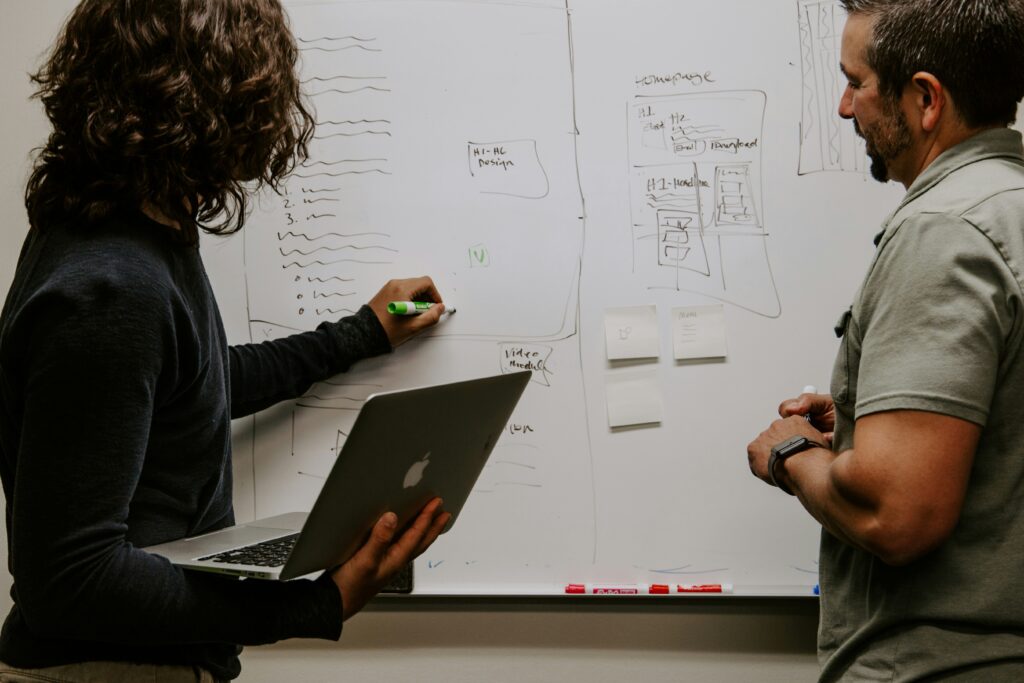
Refining your design
None of the steps detailed above exist for the fun of it. They are there to test and assess how well your designs perform in the real world, before you commit to having the stand constructed. Do not be afraid of changing the design if you identify an issue. Workarounds can sometimes get you past a problem, but they often create new problems of their own, especially since there’s a tendency not to test workarounds properly when the clock is ticking.
Let as many stakeholders as possible see your designs, ideas and mockups. Your sales and R&D teams will be able to provide useful input, as will the people who are manning the stand. While they should already have been involved in the early design process, this might be the first time they have seen the designs in a more advanced state, so their feedback on the results is just as vital. Members of the team who regularly visit exhibitions will also be able to give you some valuable insights.
This is your last chance to avoid costly mistakes, so take feedback seriously, and consider each comment on the strength of its merits. Changes at this phase might take a bit of time, and might even offend some of those who have provided creative input, but if the consensus is that they are justified, even if it means going back a few steps in the creative process, it’s worth doing.
From concept to development
We’re 1,700 words into our article, and we’re only just at the stage where we’re ready to approach exhibition stand fabricators with our designs. If you’ve followed the advice, then hopefully from now on, everything will go swimmingly. The team will be able to create a stand that pretty faithfully matches your designs and your expectations.
As we mentioned earlier, we would certainly recommend working with your fabricators a lot earlier than this. They can provide invaluable insights that can feed into the “research” phase above. For example, they’ll know about standard sizes for components, so they can be taken off the shelf form the supplier, with little or no alteration or modification required. That can mean a faster, cheaper process that’s also better suited to modular designs. They can also provide a degree of creative input, and will be completely up to date on the trends that are prevalent in the sector.
Choosing a stand partner earlier makes business sense, too. You don’t want to be searching for a maker six weeks before the exhibition, as that’s probably not long enough for the whole process of interpreting designs, then constructing and testing them.
So once you’ve decided that exhibiting is the next step in your marketing campaign, why not drop us a line? We can help you with your designs, give you some pointers on budgets, and plan a timescale for making your visualisation a reality.